Showing posts with label my house. Show all posts

Tuesday, December 23, 2014

Merry Christmas

Merry Christmas Everyone!

I have been a terrible blogger this year; my goal is to post more next year. Happy Holidays to all of you! 

Wednesday, May 16, 2012

My Summer Decorating Plans

School is almost out, and I cannot wait! I feel like it's my Summer vacation as well as the kids'. No more homework, no more driving to pick up kids from school...

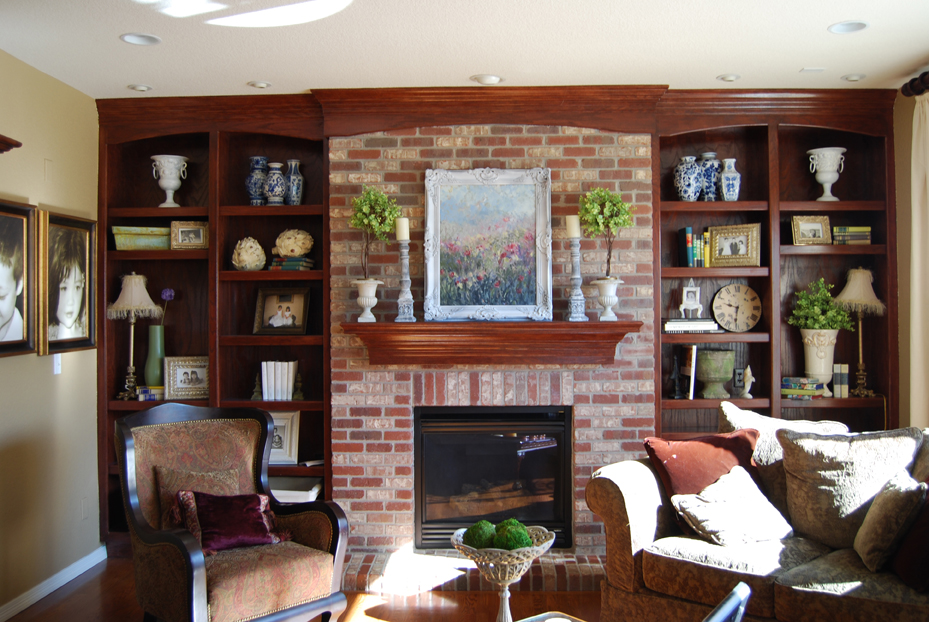
It is when I get a lot of projects done around the house. This Summer, I'm planning on finishing up this wall before I tire of it altogether (all pictures taken with iphone):


I need to clear the clutter from these bookcases. See how we have more books than the shelves can hold? Books are spilling out the front:

Then, my most labor intensive project is painting this entry. It looks sorta pink right now - it's actually BM Shaker Beige. It looks like a yellow-beige in my house. I'm thinking of painting it either a white, or BM Gray Owl. 

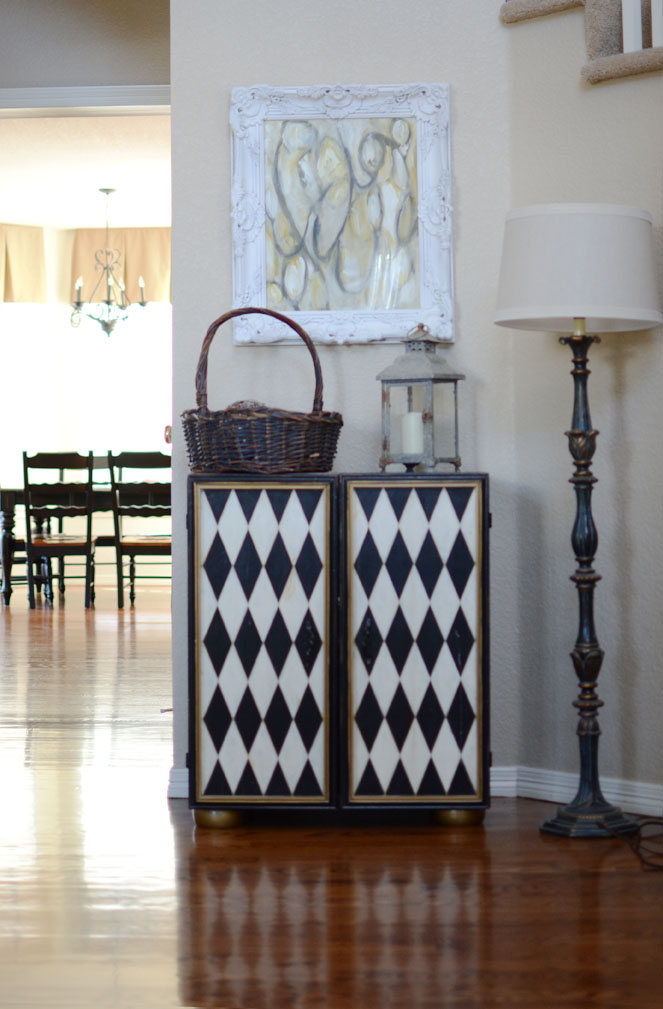
I need to do something with this vignette. It's the first thing you see when you enter. This was supposed to be temporary to fill up the space when we gave the grandfather clock to my husband's brother.

We'll see how much I actually get done. I still need to put away some Christmas houses that are in the basement!


Thursday, February 9, 2012

Dining Room

I joined the bandwagon. Another password I need to remember. I finally downloaded Instagram. It's not the same as my photoshop CS3, but it is instant gratification for obsessive picture-takers like me. 

I'm working on my dining room now - I wanted a change from my big painting I had in there. I'm trying not to make too many unnecessary holes, so I am actually going to think about how I'm going to display my medley of food/food related paintings together.
Loving this app.....

Monday, January 9, 2012

Tweaking the Entry


After taking down the Christmas tree, I was really excited to decorate the entry.

You see, 8 years ago, we inherited a grandfather clock when my husband's mom passed. It's a nice clock, but it really didn't fit into our decor. Over the years, I have tried to decorate around the area to make it less formal. My husband was not that fond of the actual clock, but was holding onto memories of his mom through the clock. He decided before Christmas that it was time to give the clock to his brother. His brother has more of a formal house and the scale of the clock fits so much better there.

I found a before of the entry - this was 3 years ago. My more recent pictures somehow got corrupt on my hard drive. My walls have been painted since then, the sunflowers and the painting at the top of the stairs have not been there for a long time. 
before

After:

Ahhh, I feel like I can breathe now. The entry is  so much more relaxed now. I will continue to tweak this area, and move things around.

On another note, I caught this guy praying several times over the course of the Broncos game:
Faith has to start somewhere, right? And what a great role model we have in Tim Tebow for young athletes:
I'm always telling my kids that sports, in the end, is just a game, but that God uses it as a tool to make Himself known. 
The verse John 3:16 is one of Tim Tebow's favorite verses.
He passed for 316 yards, and passed for 31.6 yards per completion yesterday. What are the odds?

I don't know much about football, and didn't watch much until recently. But this is cool.  

Go Broncos!

Monday, December 12, 2011

My Christmas Home

Welcome to my Christmas House! I shoveled the front walk, and attempted photoshopping the ugly orange electrical chord!

My Christmas tree is in the entry. This is our first real, chopped out of the forest tree:
Since I couldn't use most of my ornaments on the tree, I made some photo ornaments that can hang without making the branches sag:
My dining room chandelier:
Also in the dining room:
The library/piano room received a bit of greenery and a branch:

I added our Santa pictures in the family room:
And I tweaked the mantle since the last time I posted it:
Some greenery on the shelf:
I started a card tree today:
We open presents in the basement. I made the jester's stockings years ago:
The children decorated the tree:


Thanks for visiting my home!
I am linking with The Inspired Room's Christmas Home Tours.  


Friday, December 2, 2011

Before and After-The Built In Bookcases

Several weeks ago, I showed a before and after of my fireplace wall, and the moulding I painted that was on the brick. I was contemplating painting all my built-ins on this wall, but I was afraid of painting over all the wood and lowering our property value. The wood was just oak, but you know how some are about wood. :)

Well, after staring at it for too long imagining how it would look, I went ahead and painted the built-ins. Here is a picture of the built-ins in April of 2009:
Then in the Fall of 2010:
Fall of 2011:
Now, with the built-ins painted:
And because I always love a wider room shot even if it doesn't look as good as the closer view:
I am still tweaking the mantle and the shelves for Christmas. I have to say I have absolutely no regrets over painting the wood. I love the new look, and visually, it really opens up the room!

Thanks for visiting. I will post some more Christmas decor in the next few weeks, but for now, I really need to do a little Christmas shopping. See you next week!


Monday, November 14, 2011

The Art Nook is Coming Along

The basement art nook is coming along. I have the frames up, and I just need to fill some of them.

Hopefully I can complete this project before the holidays begin!

In weekend news, we took our family to watch some of this:
It was a great game to take the family to, since our team actually won.

I thought this was cool:
I know these players were being genuine, and not doing this in a mocking spirit.

Wednesday, November 9, 2011

Sneak Peek-My Basement Art Nook

I have been working on a family art nook. This area in our basement has been a storage area for some time. I never got around to putting anything on the walls like I intended 7 years ago when we had the basement finished. This nook has 5 walls to fill. This particular wall on the left is filled with a mixture of my children's art, my art, and meaningful photographs. I had most of the frames sitting around for years. See that office chair? It's actually quite comfortable. My husband has wanted me to give it away for years, but I intend to slipcover it. I will show you the other walls when(if) I complete it. 

Friday, October 7, 2011

Fireplace Makeover


My Fireplace mantle got a makeover last year. It used to look like this:
I loved the new mantle. However, the rest of that wall looked like this:
It kind of had a split personality with the dark wood moulding at top, and the distressed mantle in the middle. Risking ruining the fireplace crown moulding and built-in bookshelves, and the re-sale value of our house, I went ahead and painted that moulding on top of the brick:
My husband said it was too white compared to the mantle which was aged and distressed. I had to agree, so I went and did a little aging. And, since I can't leave well enough alone, I also went and painted the brick. I never loved it in the first place, I thought when we picked it out, there would be some more variation in the colors. On a whim, I decided to paint. I figured I went this far and there's no going back.....
I'm glad I took the risk and painted the brick and moulding. Next up, the built-in bookcases. Do I dare? I'm still pondering this one. The other end of this room is our kitchen, which is a dark cherry. I would love to paint the bookcases a dark grey, but would I completely ruin them? Would I turn into the dreaded "former homeowner" if we ever sold this house? And, while I'm questioning myself, why did I not tighten those slipcover seats before I took these photos?


If you want to see how I distressed the mantle, click here.


I'm linking with Miss Mustard Seed.


Have a Great Weekend everyone!

Monday, September 19, 2011

Office Chandelier Makeover

Thank you for all your prayers for my mom. Her surgery went well, and they removed her lung and all the cancer. We are so thankful!!!

During the last 2 months, I have kept very busy doing projects around the house. This was mainly to keep my mind off of what was happening with my mom. 

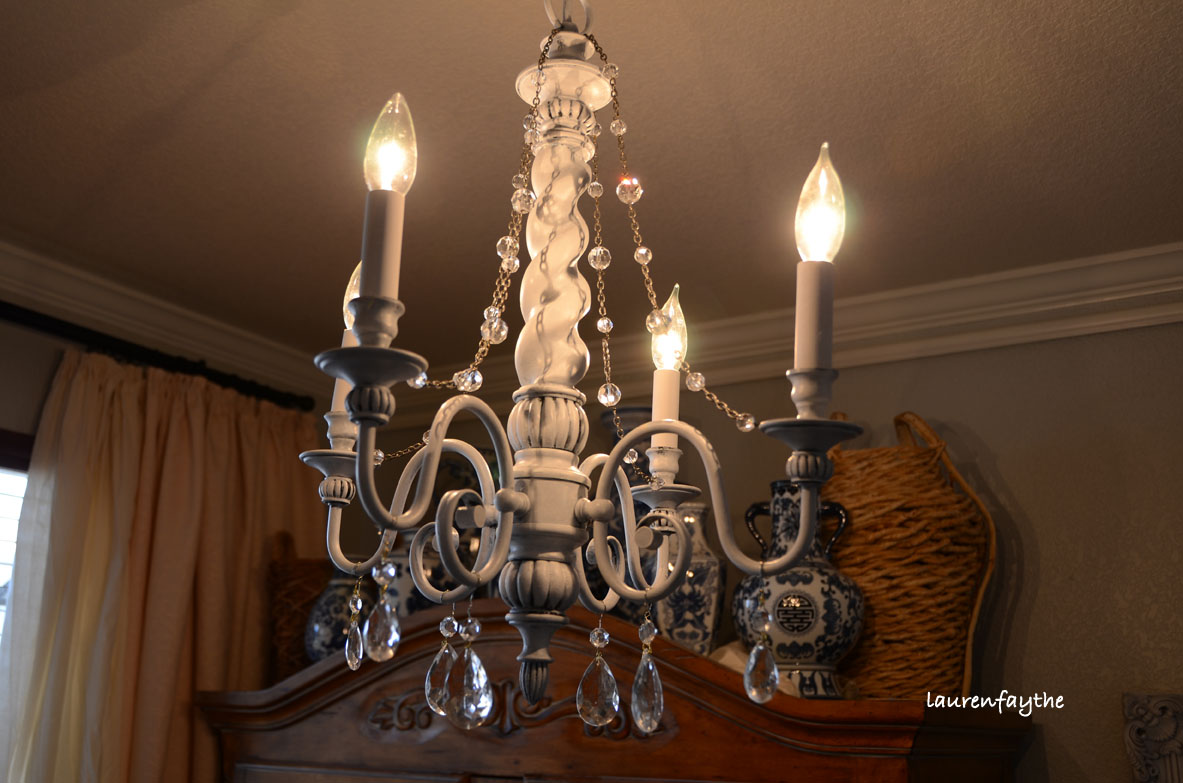
I wrote several posts on my home office makeover. Here's another element of the makeover. My chandelier. This is the after:
Here was the before:
It felt too heavy for what I was going for in here. I didn't want to replace it because I really do like the shape, and I didn't want to spend any money I didn't need to spend. I painted it - because paint solves everything!

First, I used a tinted gray Zinzer brand primer and painted the entire thing. I then mixed a white latex paint to the same primer to lighten it. I went back and forth, adding a little more paint to primer, leaving some of the dark areas. I like using just primer as the main paint, as it leaves a nice chalky finish. 

I spray painted the chandelier sleeves white, as the off white looked odd with the gray/white of the chandelier.

Then, I added the crystals that I already had from a previous project. I did purchase a string of glass beads and strung it on the chain. I also had the chain from a jewelry project. So, out of pocket, this project cost $5. I love the new look!
There will be more before and afters of this office coming soon. Can you see that the wall color is different in this last photo from the before photo?

Tuesday, September 6, 2011

Home Office Closet - Before and In Progress


I am finally posting some before and in-progress pictures of my home office closet. I have been working to reorganize and beautify this entire office. I originally had all my paintings hanging in here awaiting sales. I had more furniture than I needed, and I knew that if I could make better use of the closet, I could keep things more organized and functional. 

Below is the before. What a mess! I took these photos in the middle of back to school supply shopping. 


The sliding closet doors kept me from being able to get into the closet and really keep it functional. I wanted to replace these doors with bi-fold doors, but I couldn't find any that were small enough for the width of this closet. I guess builders usually go in "off-sizes" when they put in closet doors, I'm not sure why. Here is the closet with the doors removed. See what I mean about DISORGANIZED and MESSY?

After removing the doors, I went upstairs and stole my daughter's curtains. She didn't like them anyway. It worked perfectly.
I can now close the curtains and hide the mess. 

I spray painted my husband's and my college filing cabinets the same color, and used a piece of heavy stone that my husband's step mom gave me a year ago. I now have a counter that I can place items on, paperwork, etc. I don't use it as a desk, as there is already a desk in this room.

I also added and extra shelf all by myself - no help from my husband! :) Up until now I was a little scared of power tools. 

I still need to paint in there, but for now I love it. It is so functional!


This past weekend I also painted this room. It's getting a little makeover.